Maria @maria.norda hat nicht nur mein neues FPP Set 'Mistletoe' getestet und ein Tutorial für den wunderschönen Brotkorb geschrieben. Sie hat auch diesen großartigen Wand-Quilt aus den Cedar FPP Vorlagen genäht! Hier sehr ihr genau wie sie es gemacht hat. Viel Spass dabei und vielen Dank, Maria!
Maria @maria.norda not only tested 'Mistletoe' and wrote down a tutorial for a beautiful bread basket for you. She also sewed up this gorgeous Christmas tree wall hanging using the FPP set Cedar. Check out how she did it! Thank you, Maria!

Ich bin kein Deko-Typ. Das jährliche Schmücken an Weihnachten vergesse ich entweder ganz, hänge alles zu spät hin oder nehme es noch viel später wieder ab (einen Weihnachtskranz an Ostern wegzupacken spricht glaube ich Bände).
Was ich aber liebe, ist nähen. Also steht das diesjährige Weihnachten unter dem Moto – wenn es was mit Quilten zu tun hat, dann ist es super. Perfektes Timing, dass Steffi dieses Jahr weihnachtliche FPP Pattern herausbrachte.
I'm not a decorating type. Decorating at Christmas each year I either skip altogether, hang everything too late or it takes me months to take down again – anyone else packing away their Christmas wreath at Easter?
What I do love, however, is sewing. Therefore, this year's Christmas I approach with the motto: if it has anything to do with quilting, it's awesome. Steffi new Christmas FPP patterns this year fit that bill perfectly!

Was du für einen weihnachtlichen Wandquilt brauchst:
- 10 Blöcke des FPP Vorlagen-Sets Cedar – für die perfekte Weihnachtsstimmung natürlich bestickt 😊
- 30 cm x Stoffbreite deines zuvor in der FPP-Vorlage verwendeten Weihnachtsbaum-Stoffes
- Hintergrundstoff, Vlies (z.B. Thermolam), Rückseitenstoff, ca. 90 cm x Stoffbreite
What you will need to sew this Christmas wall quilt:
- 10 blocks of the FPP template set Cedar – embroidered if you want to make it extra christmassy!
- Approx. 12’’ / 30 cm x WOF of your Christmas tree fabric (same as background used in the FPP blocks)
- Background fabric, batting, backing fabric (approx. 90 cm/ 1 yard)

Die Blöcke werden zunächst zu Reihen miteinander verbunden, dabei die Seiten mit einem ca. 5 x 5,5 inch Rechteck verlängern. In den Bildern seht ihr, wie ich meine Blöcke angeordnet habe. Die Reihen zueinander mittig ausrichten und einen Sashingstreifen von 1,5 inch einfügen. Das muss alles nicht zu genau sein, seine Form bekommt der Baum später.
First join the blocks together to form rows, extending the sides with an approximately 5 x 5.5 inch rectangle. In the photos you can see how I arranged my blocks. Center the rows to each other and add a 1.5 inch sashing strip. None of this needs to be very exact, the tree will get its shape later.

Dieses etwas unförmige Konstrukt mit Vliesofix bebügeln. Ich habe es einfach auf ein Rechteck gebügelt und im Nachhinein zurückgeschnitten. Arbeite dich beim Bügeln von der Mitte nach außen vor, damit keine Falten entstehen.
Press an double sided fusible webbing (Heat n Bond or Vlisofix for example) to ththe back of your tree panel. I basically pressed the panel onto a big rectangle of fusible webbing, then trimmed it back around the edges. Start pressing in the center, then work outward two avoid wrinkles.

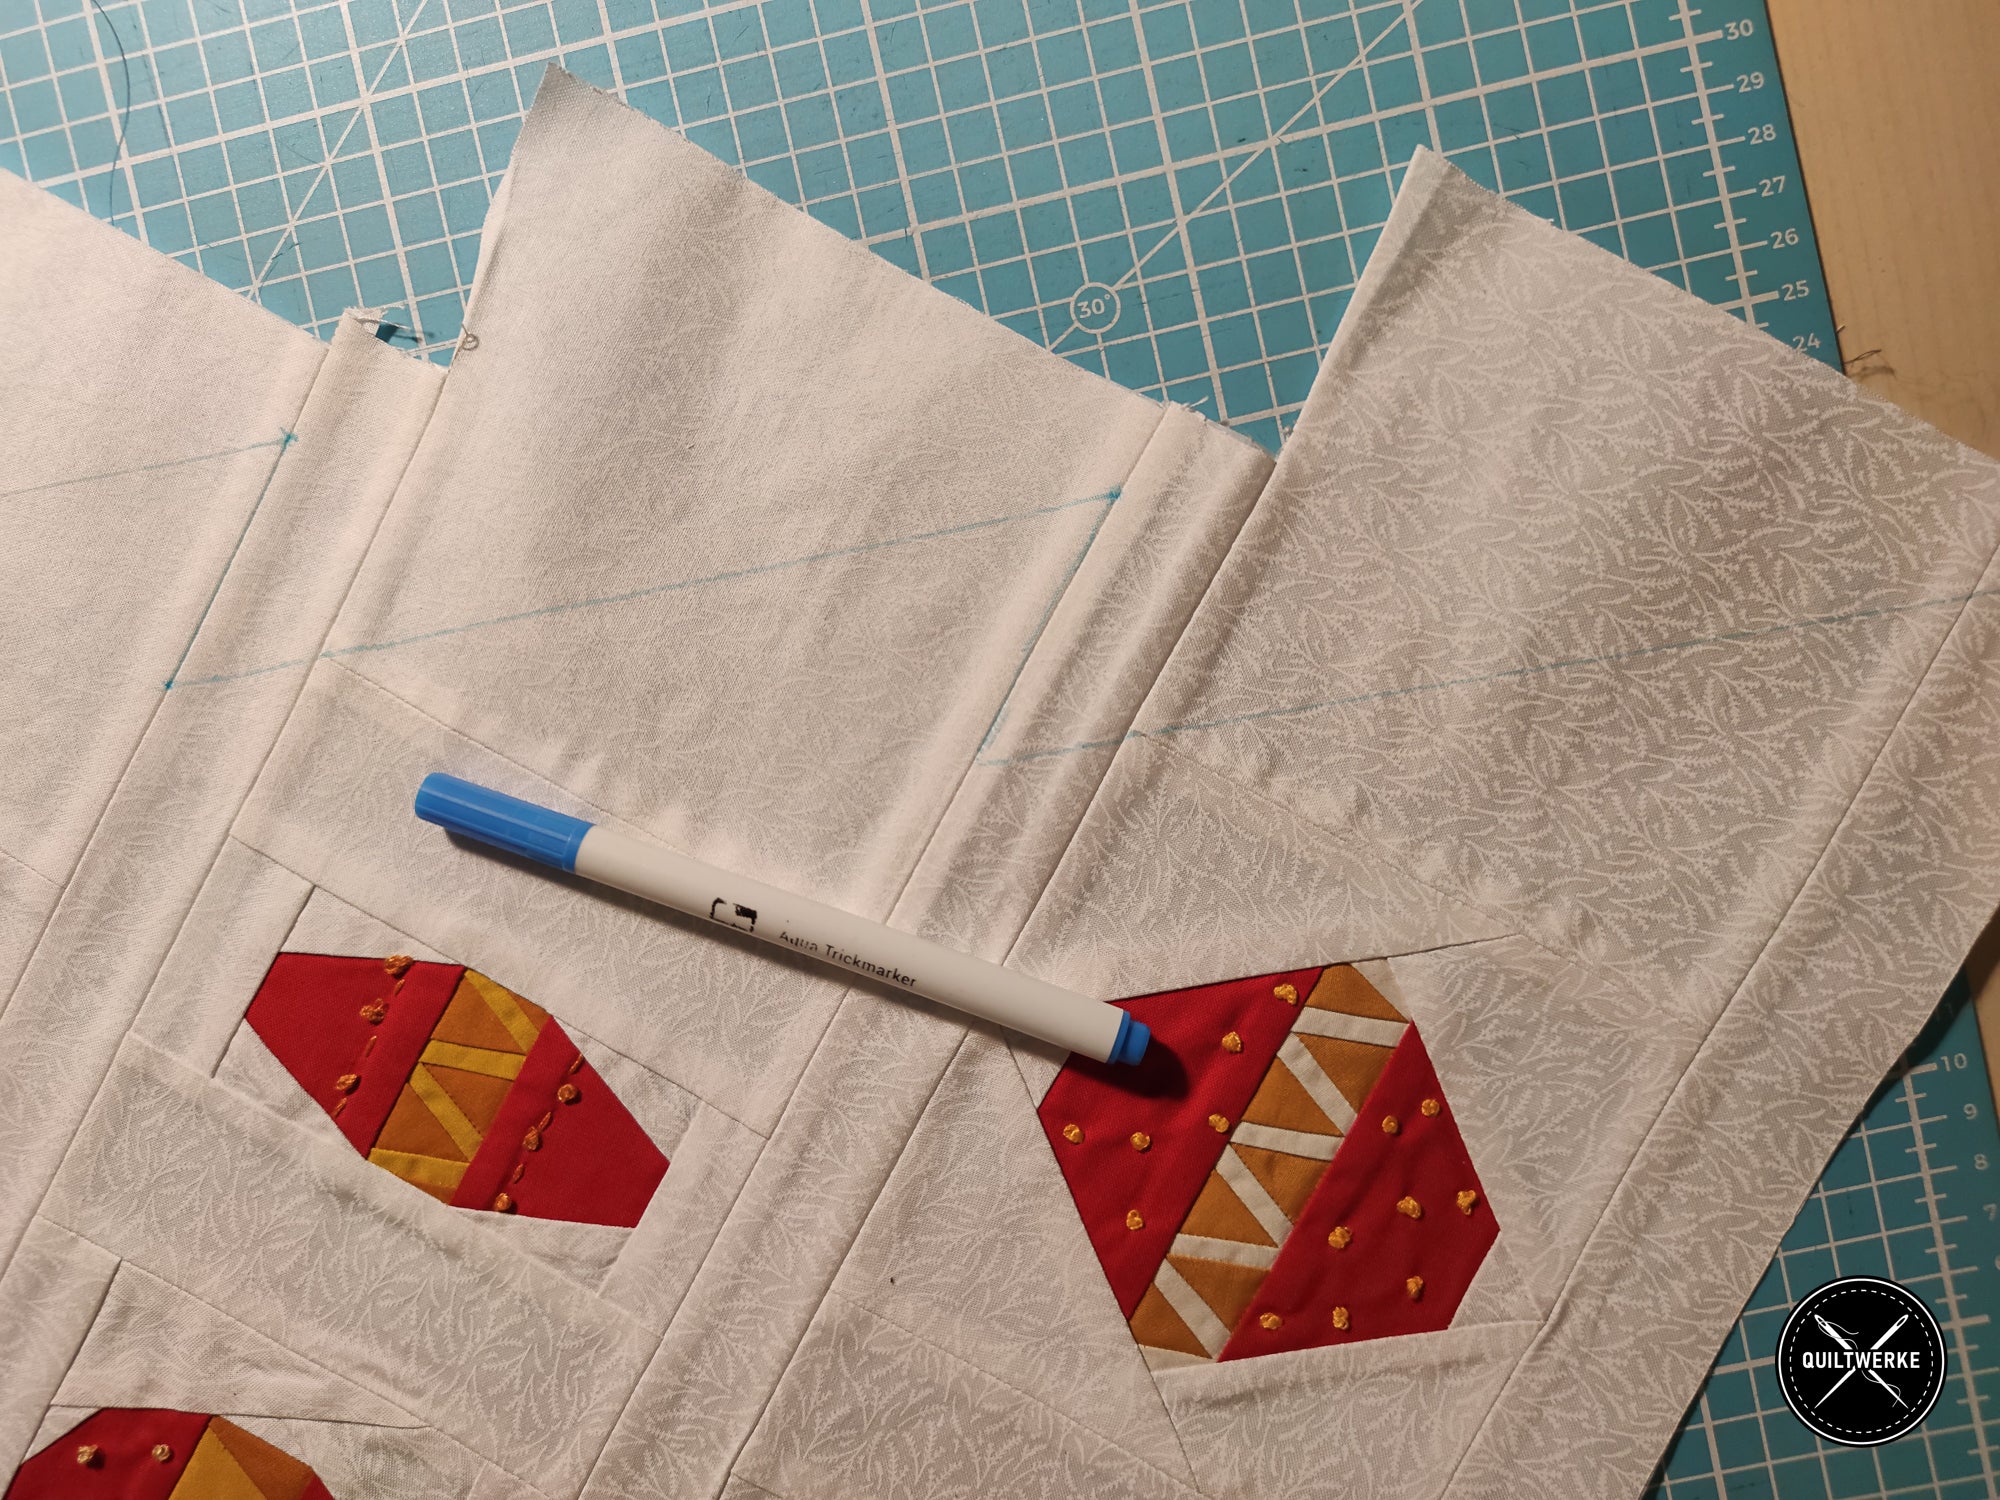
Mit einem Trickmarker kannst du die Wunschform deines Weihnachtsbaums aufzeichnen – sei es zackig, geschwungen oder gerade – das obliegt ganz dir.
Use an erasable marker to draw out the shape for your Christmas tree - jagged, curved or straight - it's up to you.
Den ausgeschnittenen Baum mittig auf deinen Hintergrundstoff bügeln und aus Vlies und Rückseitenstoff ein Quiltsandwich herstellen.
Cut out your tree, center and press it onto your background fabric. Make a quilt sandwich using batting and backing fabric.


Jetzt kommt der für mich spaßigste Teil – das Quilting.
Nehmt am besten eine 90iger Nadel, denn durch FPP Teile und Vliesofix kommen einige Lagen zusammen (fragt lieber nicht, warum ich mir da sicher bin). Ich arbeite gern mit einem Rulerfuss, weil ich hierbei schnell zwischen Freihand- und Rulerwork wechseln kann. Da mein Weihnachtsbaum sein Dasein als Wandquilt fristen wird, habe ich die offenen Kanten des Baumes nur mit einem einfachen Geradstich fixiert. Für mein Quilting habe ich ein goldfarbenes Stickgarn von Isacord (Nr. 0721) verwendet. Das hat einen schönen Glanz, lässt sich aber genauso vernähen, wie andere Garne.
Mein Tipp – fahrt eine Quiltlinie 2-3 mal entlang, so fallen kleine Ungenauigkeiten nicht auf.
Now comes the really fun part – quilting!
I suggest using a size 90 needle - the FPP pieces, fusible webbing, batting, back – that’s a lot of layers. I like to work with a ruler foot, this way I can quickly switch between freehand quilting and ruler work. Since my Christmas tree will be a wall hanging, I only used a simple straight stitch to secure the open edges of the tree. For my quilting, I used a gold colored embroidery thread from Isacord (No. 0721). It has a nice sheen to it, but is as easy to sew with as other threads.
Quick tip: Layer a quilting line by sewing it 2-3 times, this way small inaccuracies do not stand out.


Zum Abschluss auf Wunschgröße zurückschneiden (in meinem Falle waren es 30x32 inch), Binding dran – Fertig.
Finally, trim your quilt back to its desired size (in my case it was 30x32 inches), add a binding and you’re done!
